Pixelnetica Document Imaging SDK (DI SDK) bundled with demo application source code. Main purpose of demo application is to show how DI SDK could be implemented into real application, demonstrate main possibilities of DI SDK and recommended workflows for document scanning.
Important note.
Demo application source code provided “as is” without warranties of any kind. It could be freely used in commercial product only in case of commercial DI SDK license purchased.
Contents
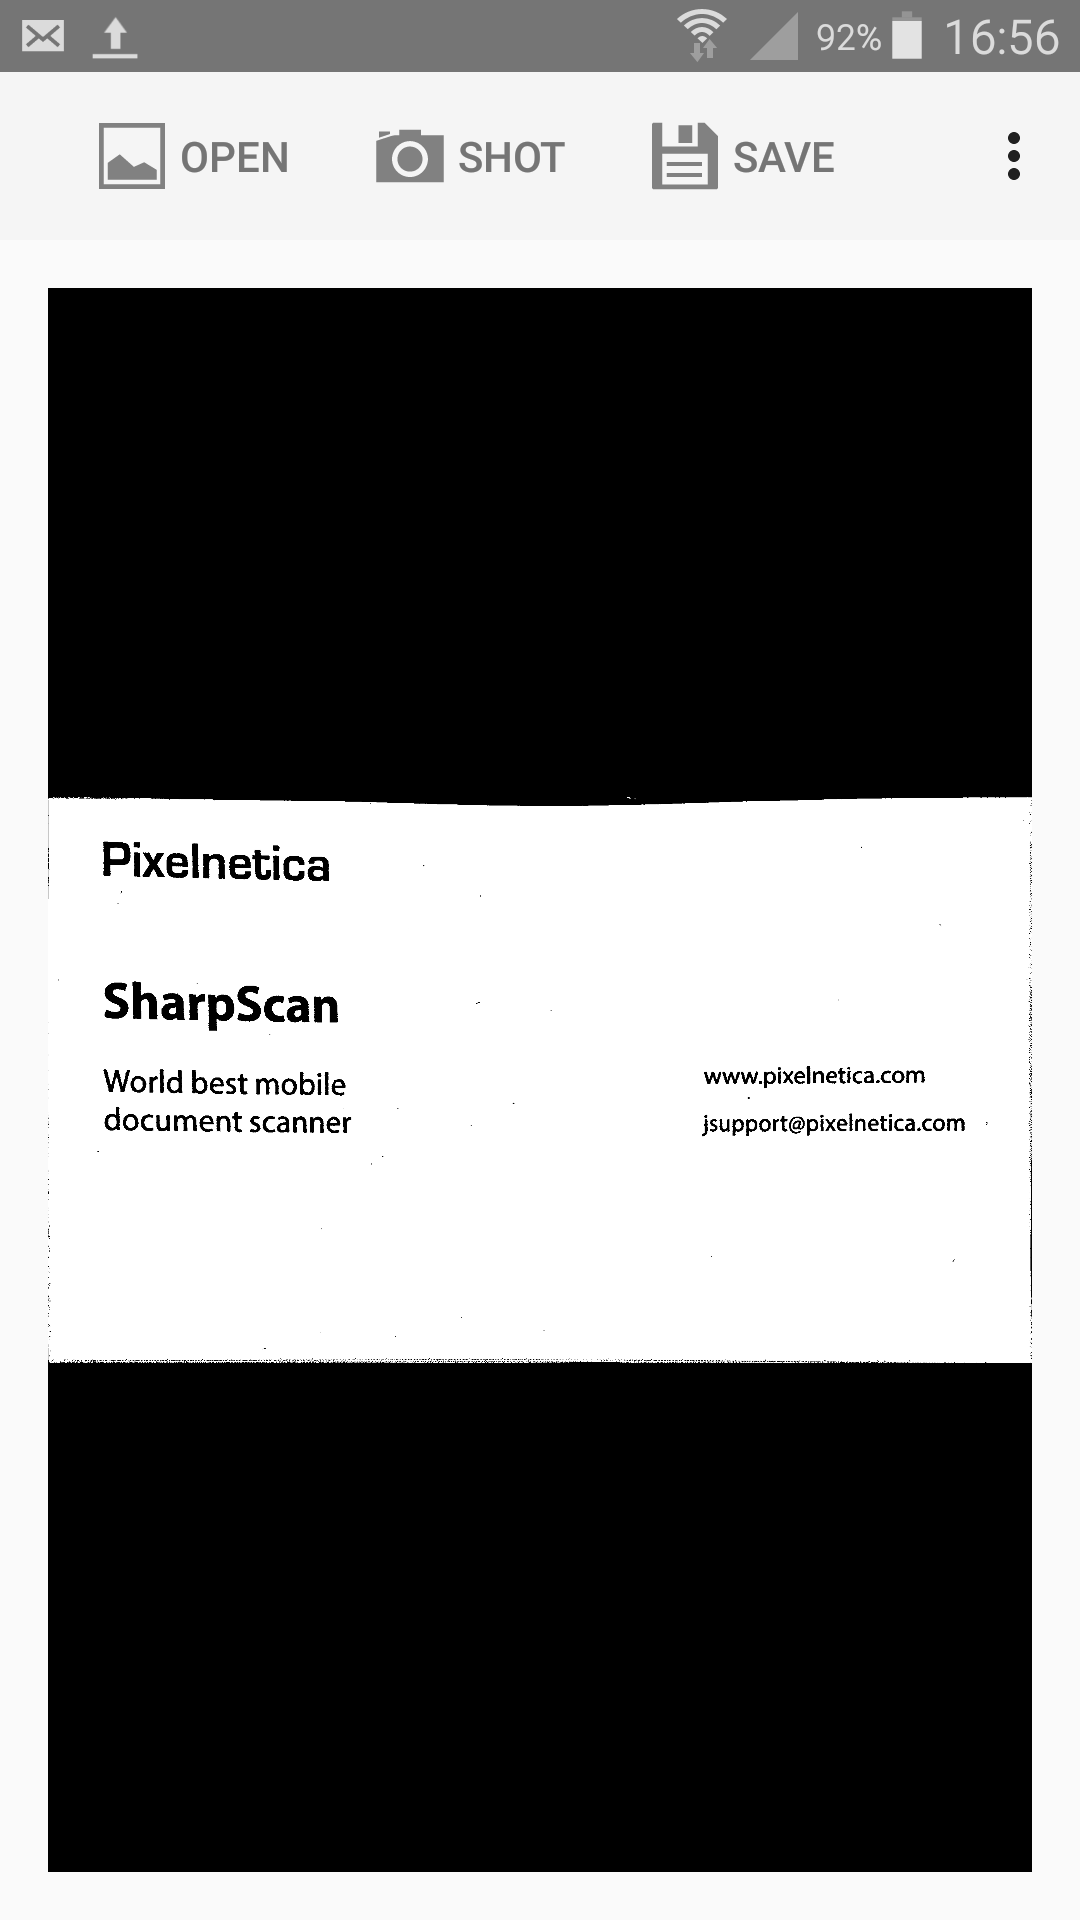
Main screen (default state)
This default start up screen showed after application start.
Main workflow of working with demo application as well as any other scanning application is very straightforward:
- Load image from camera or Album.
- Process with cropping and binarization.
- Share resulted document scan.
For demonstration purpose all these steps initiated manually. In real application image processing could be initiated automatically, so user will only have to initiate scan and after resulted image will be provided to him share it via favorite service.
To start using application a document photo should be loaded. There two main option for this:
- Tap on Open icon
 to import document photo from device Album.
 - Tap on Shot icon
 to start scanning from device camera
There is action menu available also.

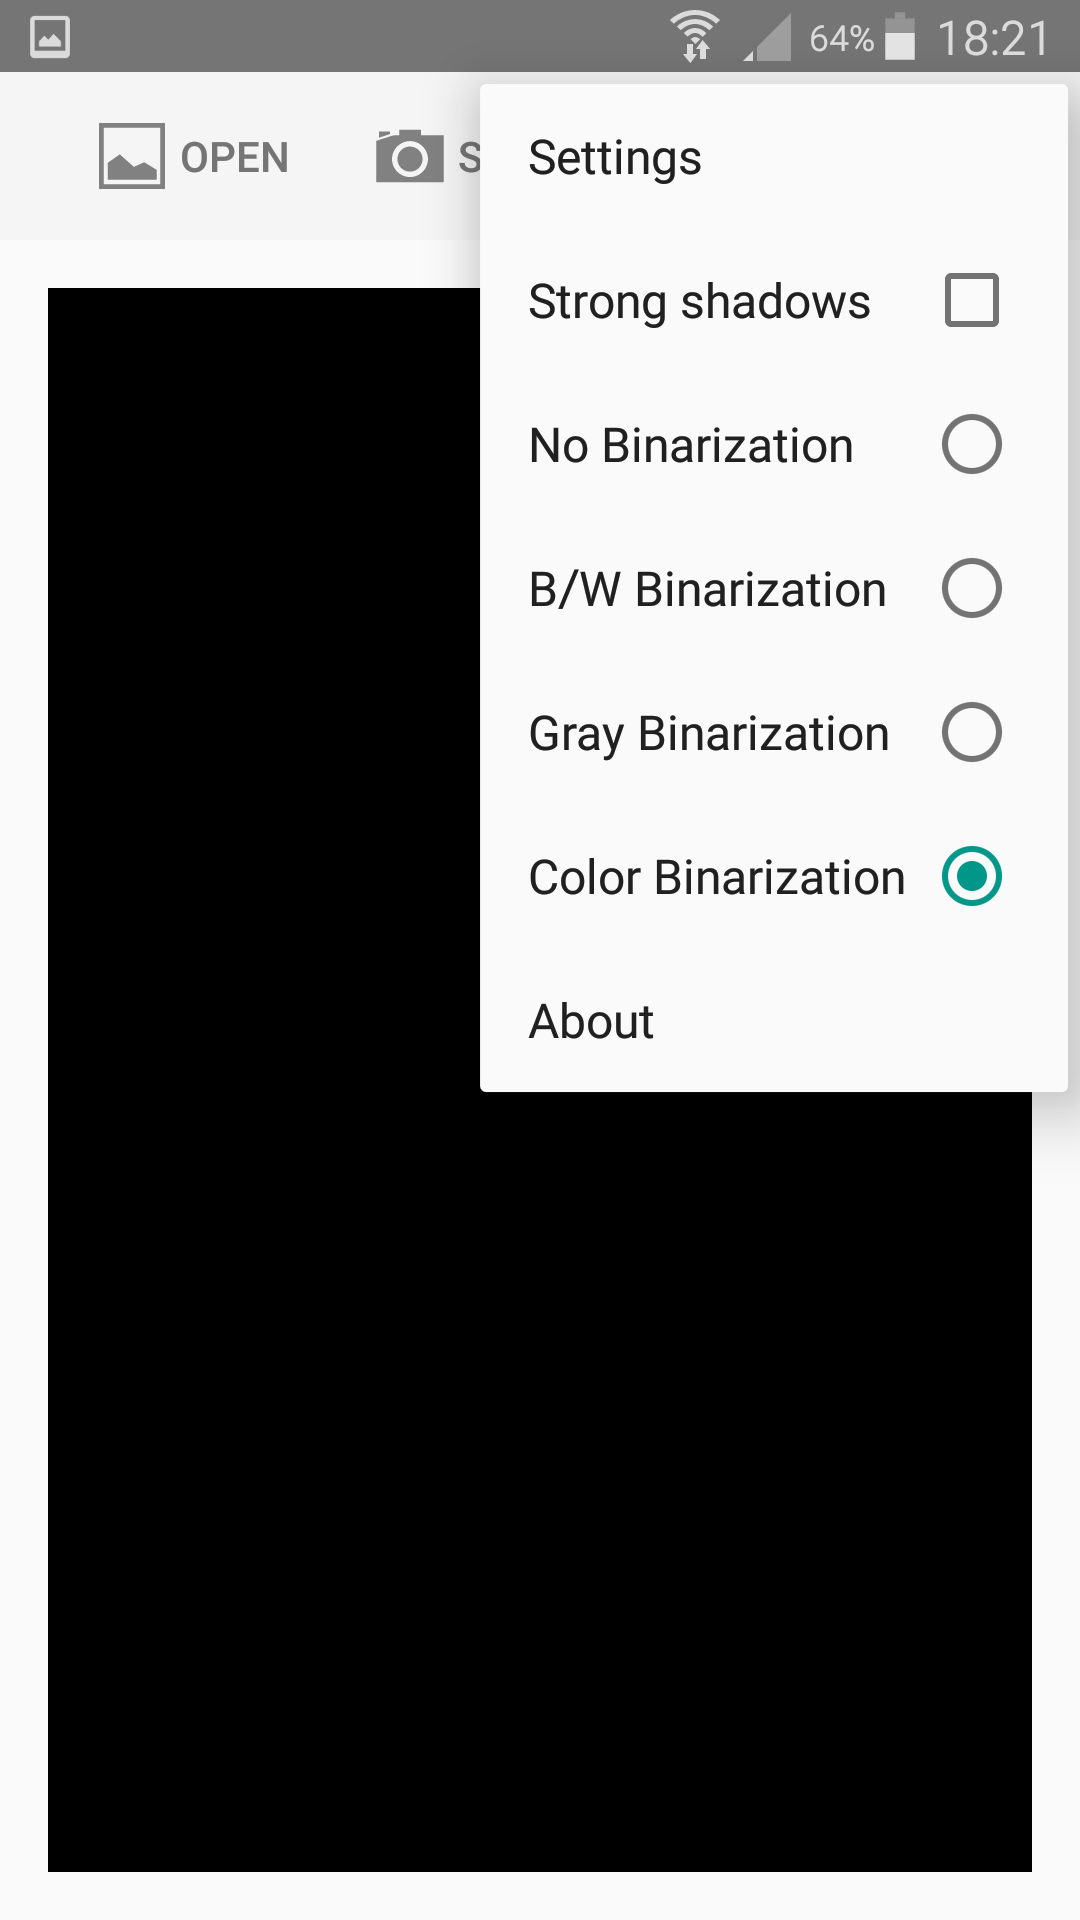
Main action menu (no photo loaded)
In this menu several import ant image processing options available.
- “Settings” — opens screen with application settings.
- “Strong Shadows” — check this option is document photo has strong visible shadow. Be careful with ordinary documents (without shadows) — in case of this option applied some minor details could be filtered out.
- “No Binarization” — in case of this profile document photo will only be cropped and aligned. Image by itself will not be processed at all. Could be useful for control purpose or further document processing in corporate back-end systems.
- “B/W Binarization” — document will be processed to pure black-and-white monochrome image.
- “Gray Binarization” — document will be processed to gray image.
- “Color Binarisation” — document will be processed to full color image.
- “About” — information about demo application version.
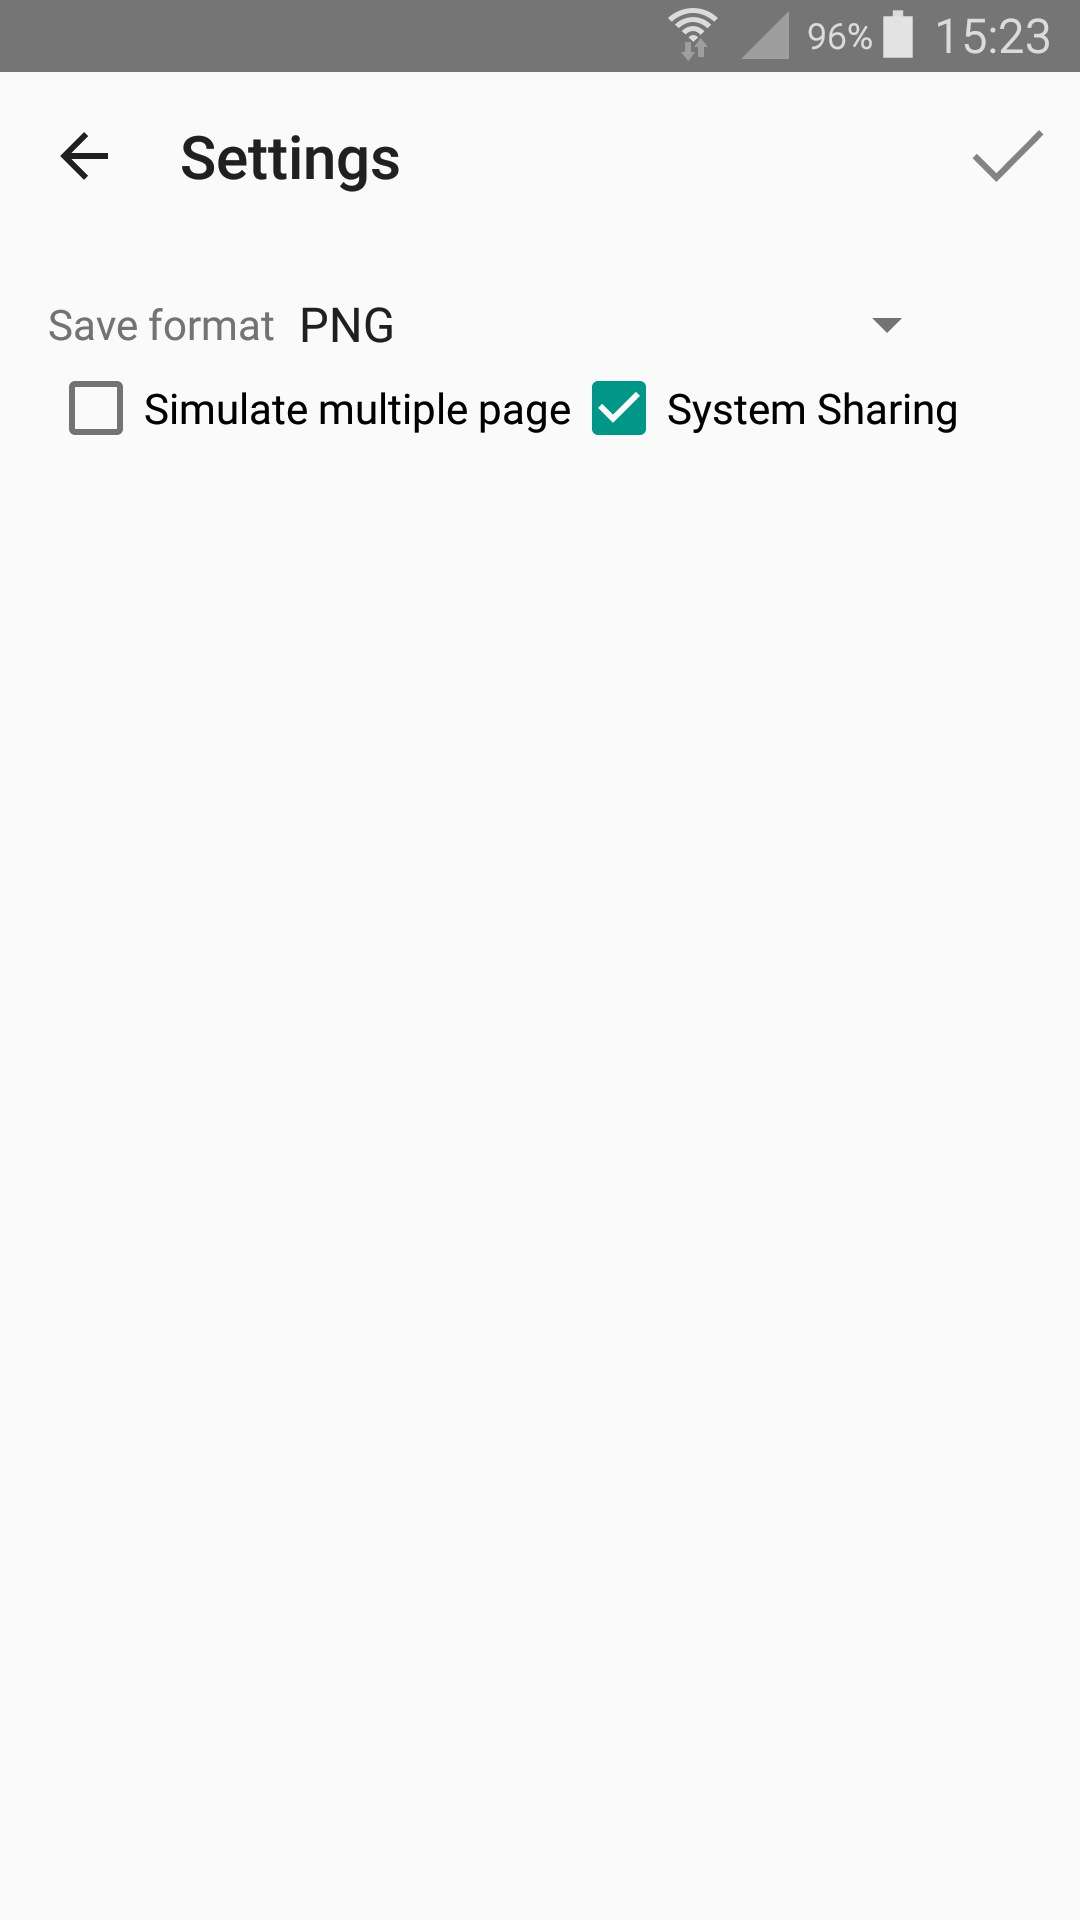
Settings screen
On this screen resulted document saving options could be set.
- “Save Format” – defines output document file format.
Available formats for saving resulted image: - “System Jpeg” — Jpeg file created with standard Android service.
- “Tiff G4” — monochrome Tiff file with very effective G4 (fax) compression. Creates most compact black-and-white files.
(!) Note: Should be used on monochrome images only. In case of color or gray resulted image (being processed as Gray or Color profile) will be saved as Tiff it will be binarized by image compressor providing very poor results. - “PNG” — color, gray or B&W PNG files. Way more effective than Jpeg for color and gray documents but in case of B&W image generates less compact files than Tiff. Could be useful when Tiff files are not suitable (e.g. for compatibility reasons).
- “PDF” — standard Adobe PDF files crated form Image object (from memory).
- “PDF through PNG” — standard Adobe PDF file created from previously saved PNG file. Added to illustrate situation when previously saved PNG could be used for PDF generation. Also in this case less RAM required — could be useful in case of huge multipage documents (more than 50 pages)
- “Simulate multiple page” — could simulate multipage output for PDF and Tiff files by writing the same page 3 times in a raw.
- “System Sharing” — defines how resulted documents will be shared upon tap on “Save” icon on main screen (available only with processed image).
When selected (default) —standard Android provided sharing dialogue will be opened with all available sharing services installed.
When deselected — resulted scan will be saved to device internal storage.
To apply selected options OK button  should be pressed. Device standard “Back” button just returns to mains screen leaving all changes unsaved.
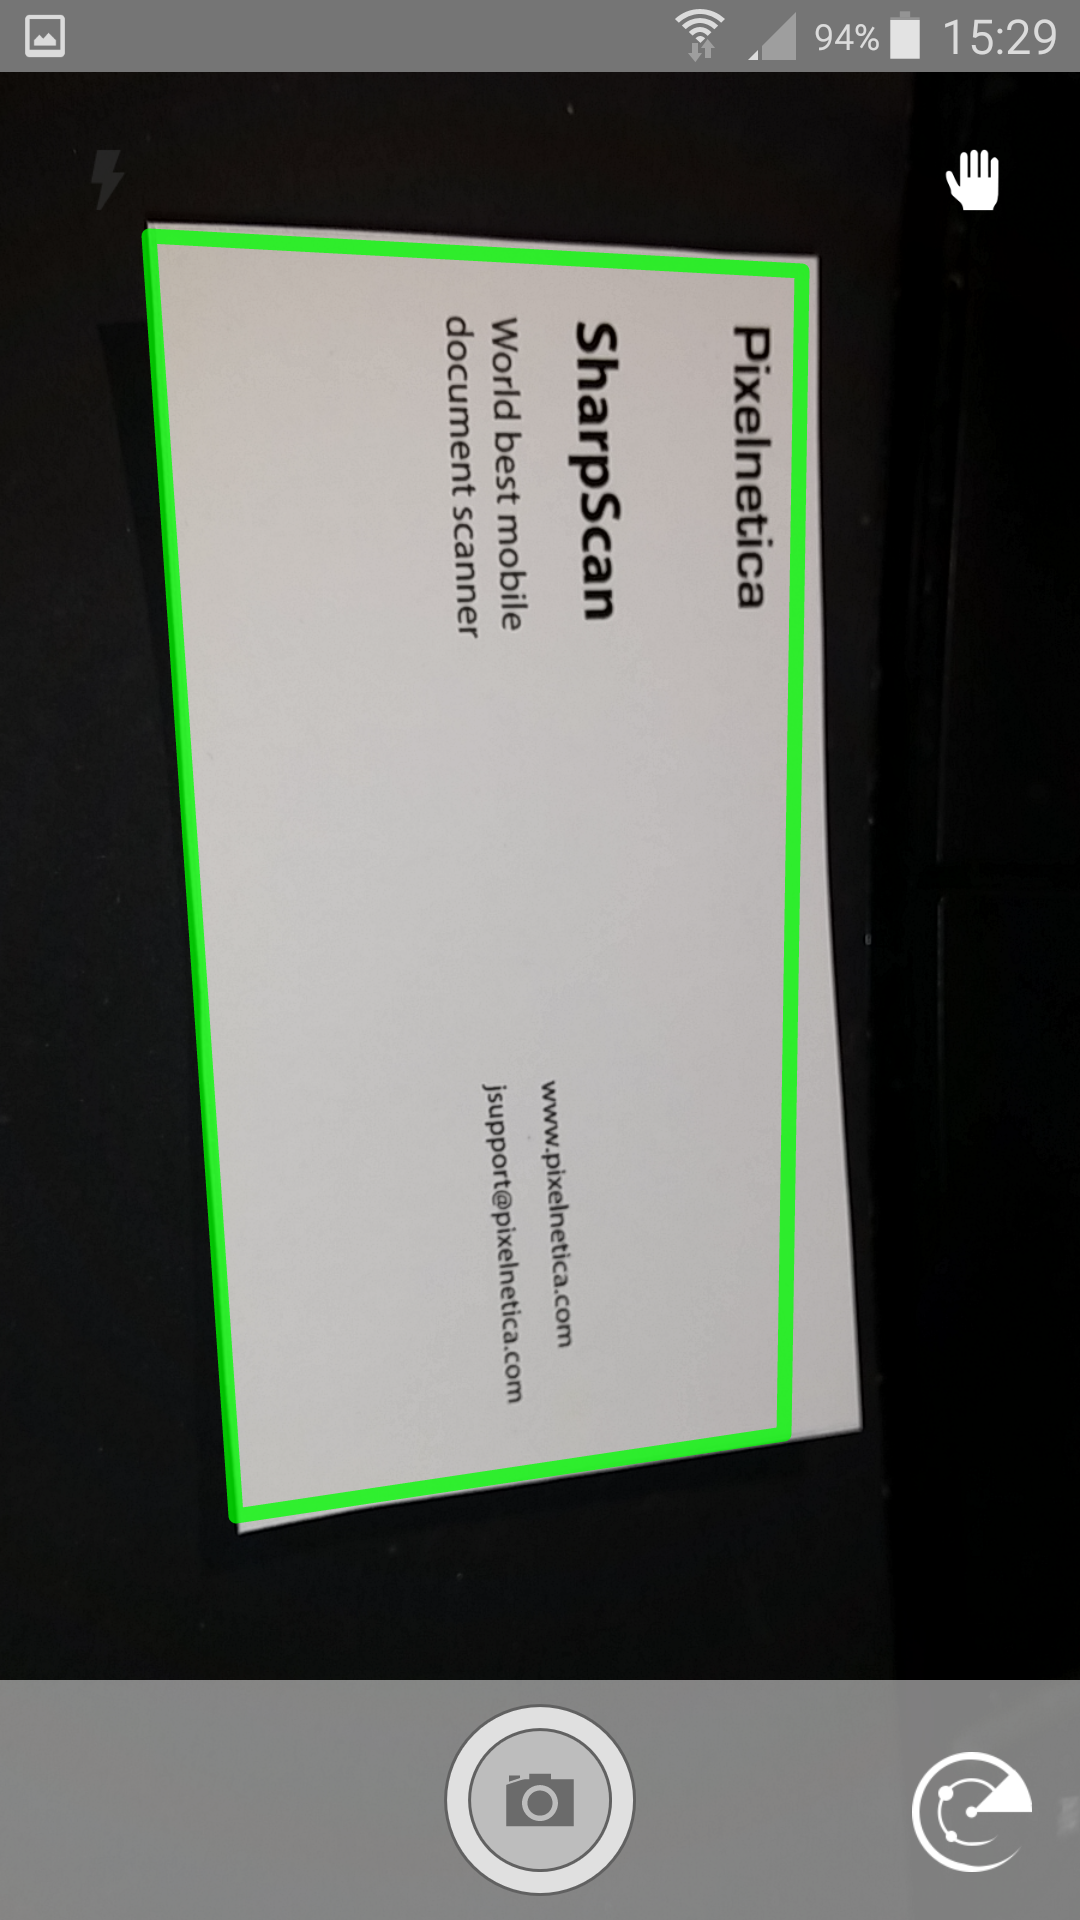
Camera screen
Camera maybe one of most important step of document scanning which can hardly be underrated. Unlike from traditional document scanning with old-fashioned flat-bed scanners users utilize mobile document scanning when they are off-premise. Moreover, sometimes they have limited access to document original (after scanning it should be transferred or dumped) or document scanning process time limited (user in a rush).
Another problem that user can’t (or won’t) estimates the quality of scan on device screen.
As a result they are taking photo in a rush with obvious mistakes doesn’t care of how this document will be processed further.
To mitigate such user behavior DI SDK offers several technics and features which is represented in demo application Camera.
“Smart Camera” — estimates the document scan quality in viewfinder and provides user with live feedback during document shooting to reduce common user scanning errors, automatically taking a shot in if scanning conditions been considered as good enough. Also speed up scanning process — user doesn’t need to tap on camera buttons, just point to document and get a result.
“Smart Crop” — offers the possibility to estimate the quality of the document area boundary detection and make a decision about cropping – crop image automatically or send for user approval and correction.
When camera opens it (by default) starts looking for documents in viewfinder (preview screen).
If no document found (no document presented, bad lighting, non-contrast background, other objects presented, etc.) message “Looking for document” displays above buttons on bottom toolbar.
If document been detected a green frame displayed over it boundaries. In case if user holds camera steady (it doesn’t shakes) and document borders doesn’t inclines a lot, camera automatically takes a shot.
Camera controls.
Torch  — Turns device torch On and Of. Recommended position is on. Could significantly increase document lighting and reduce glares.
Handshaking  — Turns handshake detector On and Of. If shaking detected will display additional “waves” around “hand”. Switched On prohibits of taking auto shot when device shakes a lot. Could reduce out of focus (blurry) scans amount.
Smart Camera  — Switch Smart Camera (document border detection and auto shooting) ON and OFF.
Camera button — Initiates immediate scan ignoring other detectors. User could also tap on any par of preview to take a shot. In this case focusing will be done on where he taps. Could be useful in case of cramped document which can’t be all in focus.
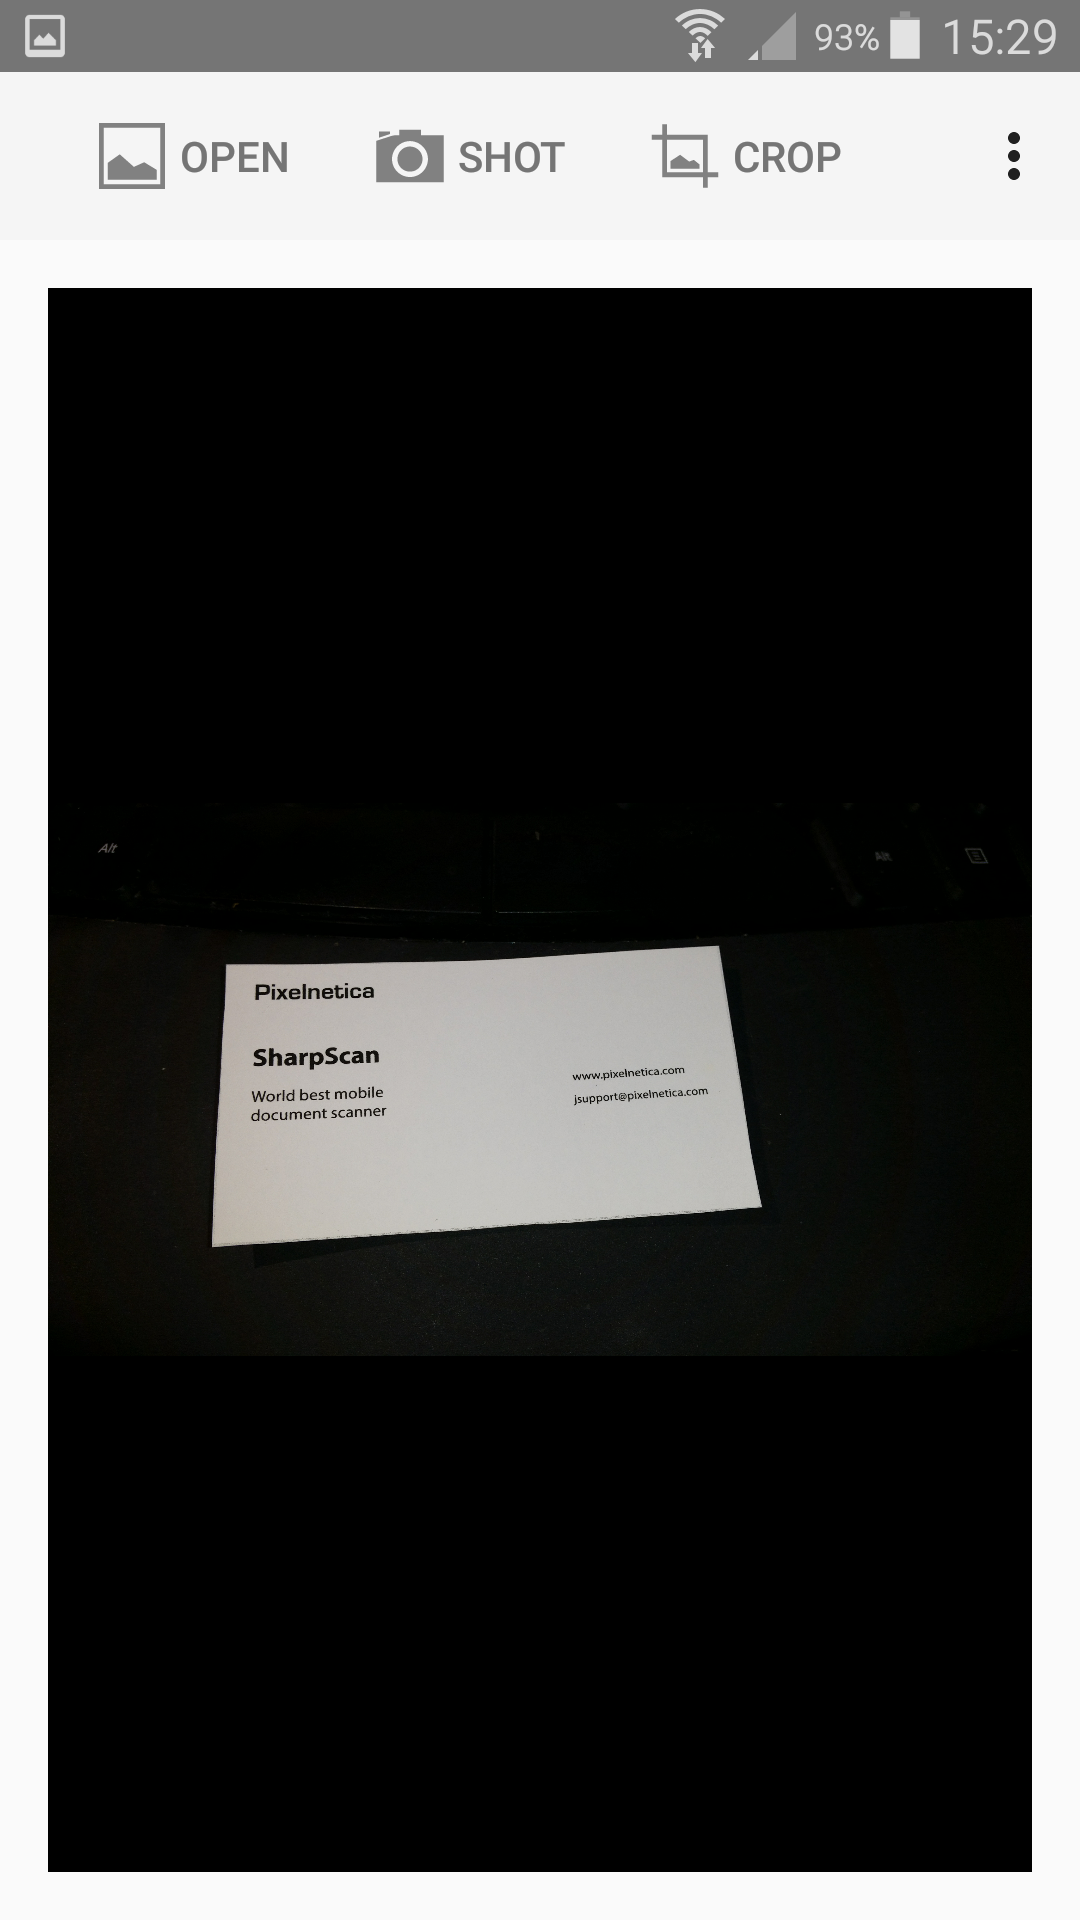
Main screen with photo loaded.
No matter where photo been loaded from it will be displayed on main screen. This been implemented to give possibility to visually control loaded photo. In real application this step could be omitted utilizing Smart Crop technics.
On this screen only one new control appears – Crop  . Tap on it initiates document processing with selected in action menu profile and options (Strong Shadow).
If document boundary been detected good enough (usually after auto shot) document will be processed automatically and resulted image will be displayed.
If document boundary been detected not good enough (e.g. user scan takes a shot manually) than screen with manual document borders adjustment available will be showed.
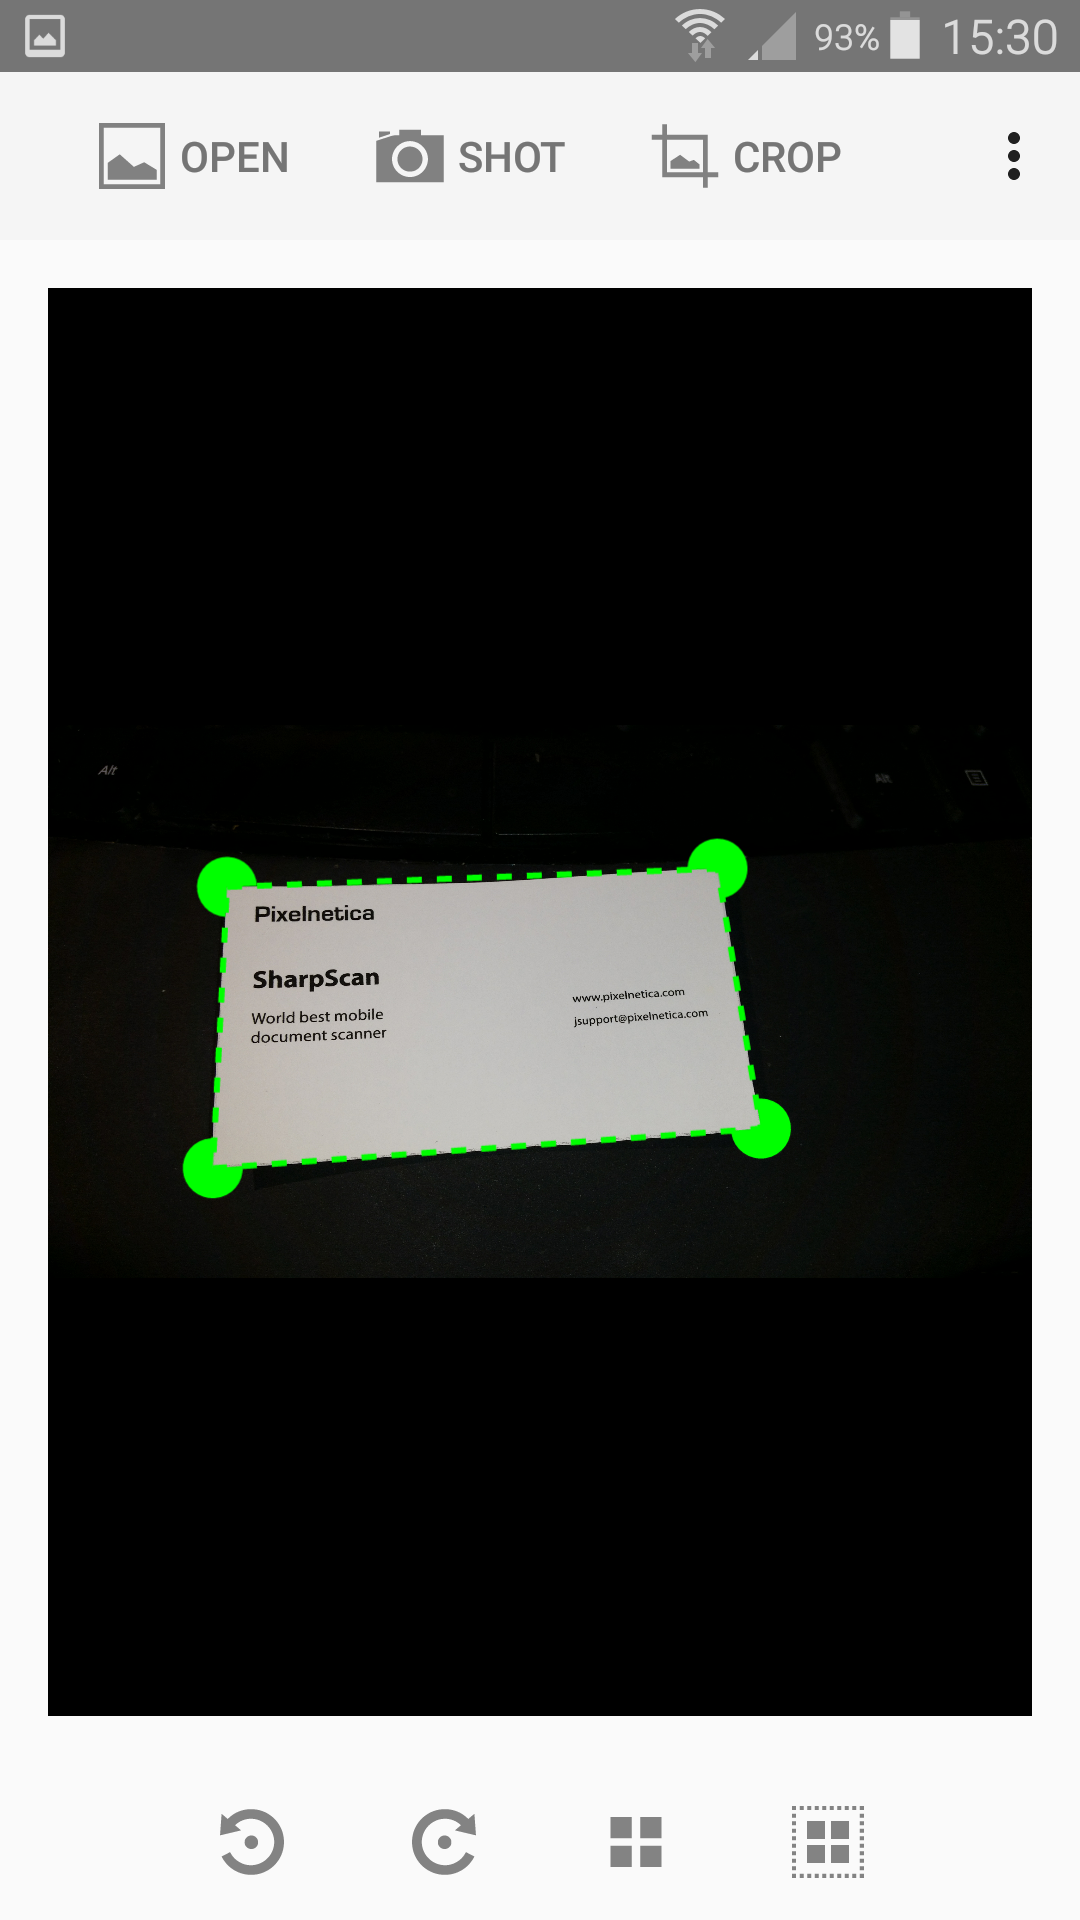
Manual crop screen
On this screen document boundaries as well as document orientation could be adjusted manually.
To adjust documents border user should tap and hold somewhere near of any corner. This area will be zoomed in and user could nudge corner position to desired place.
Tapping on Crop button will apply changes and proceeds to resulted scan.
Manual crop controls.
Top tool bar is equal to previous screens.
Rotation 
 — rotates document 90° counter clockwise or clockwise respectfully.
Detect borders  —detects document borders.
Expand borders  — expand document borders to whole document.
After all adjustment.
Main screen with resulted scan.
On this screen resulted scan represented.
It could be reprocessed with different color profile, sent to manual correction (choosing options in actions menu) or saved by tap on Save button  .
.